The four advanced controls that sit behind the ▶ Advanced Settings arrow in the right panel. Use these when the main sliders aren’t quite getting the result you need.
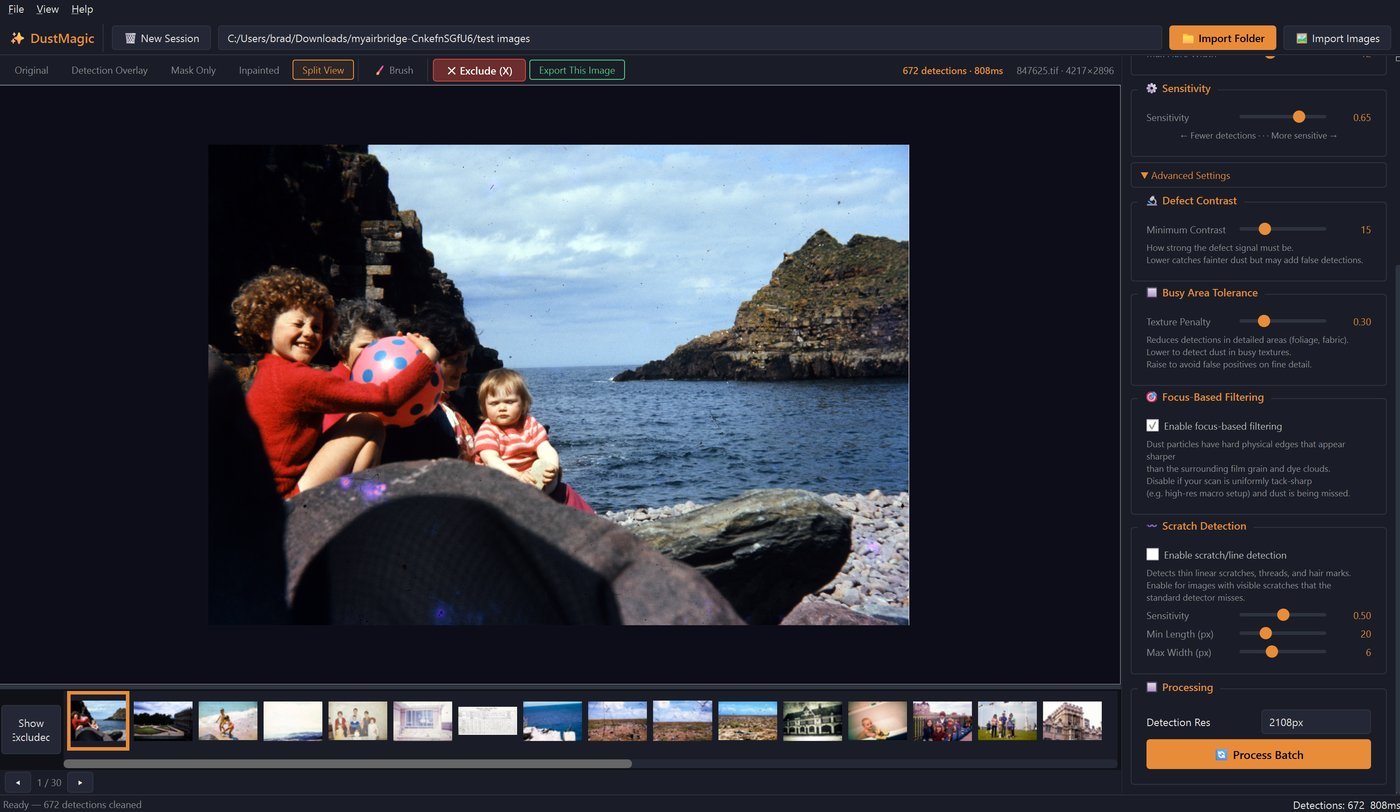
Minimum Contrast
How strong the dust signal must be against the surrounding image before DustMagic considers it a candidate.
- Lower — catches faint contamination on old slides with low-contrast dust. Risk: false positives on subtle tonal gradients (skies, skin).
- Raise — suppresses false positives on smooth areas. Risk: missing genuinely faint dust.
Texture Penalty
Suppresses detection in detailed areas — foliage, fabric, brickwork, hair.
- Raise if textures are being flagged as dust.
- Lower if dust sitting over detailed areas isn’t being detected.
Focus-Based Filtering
DustMagic separates dust from image content partly by using sharper edges — real dust sits on the film surface and has harder edges than image grain.
- Leave on for typical scans.
- Turn off for very sharp setups (high-resolution macro DSLR scans with precise focus). When everything is uniformly sharp, the gap between dust edges and image edges narrows and this filter can suppress real dust.
Scratch Detection
Finds thin linear marks — scratches, threads, hair — that the standard dust detector may miss. Enable this for images with visible scratches over skin or smooth backgrounds.
Three sub-controls:
- Sensitivity — how aggressively scratches are detected.
- Min Length — shortest mark to count as a scratch. Raise to ignore short fibres.
- Max Width — widest a mark can be before DustMagic treats it as a dust spot rather than a scratch.
Tuning Order
When detection isn’t right, work outward from the main sliders:
- Sensitivity — first, on its own.
- Texture Penalty — for false positives in detailed areas.
- Focus-Based Filtering — toggle if dust is being missed on tack-sharp scans.
- Minimum Contrast — last; raises and lowers tend to introduce trade-offs.
Save Once You’re Happy
Once you’ve found a working combination for a film stock or scanner setup, click Save Profile in the panel above. Loading the profile recalls all four advanced settings together.
Next Steps
- Main settings reference — 2.3: All Settings Explained.
- Save and recall recipes — 4.4: Saving & Loading Custom Profiles.
- Diagnose a specific problem — 5.4: Troubleshooting Bad Results.