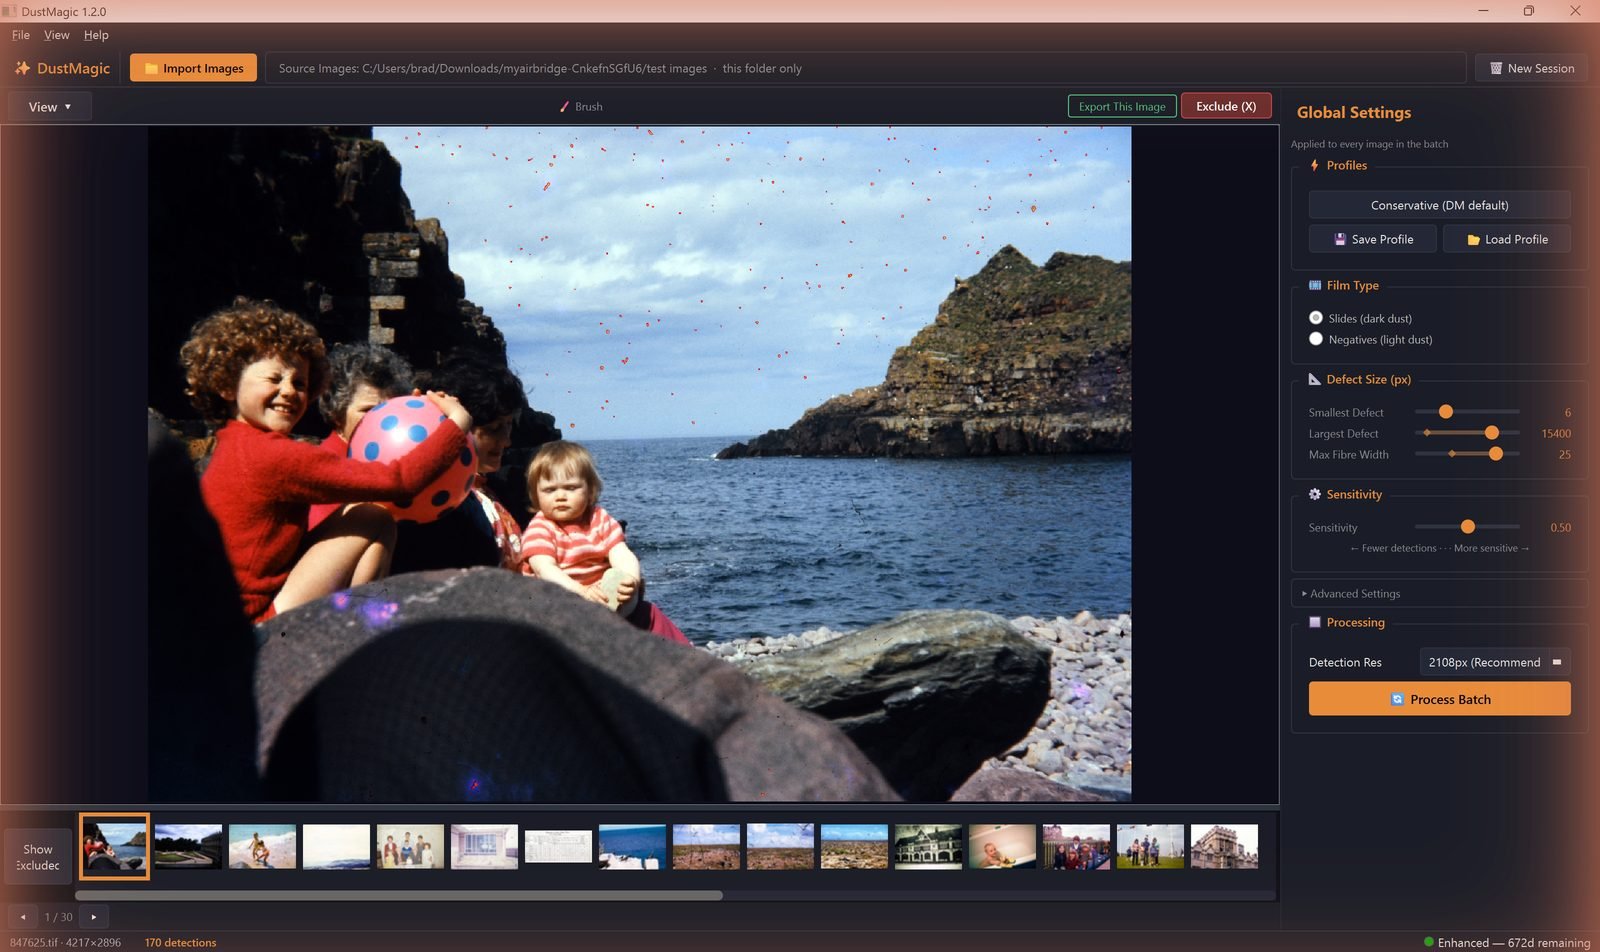
Profiles let you snapshot every detection setting for a specific film stock or scanner setup, then load the same recipe in one click.
Save a Profile
- Tune the panel until detection looks right on a representative image.
- Click Save Profile.
- Name it descriptively. Good examples:
- Portra 400 — lab scans
- Velvia 50 — home DSLR scan
- Kodachrome 64 — mounted slides
- Tri-X push processed (chromogenic)
Load a Profile
- Click Load Profile (also in File → Load Profile) and pick your saved profile.
- Loading a profile re-populates every slider and toggle and re-runs detection on the current image.
What’s Saved
- Film Type
- All sliders: Smallest Defect, Largest Defect, Max Fibre Width, Sensitivity
- All Advanced Settings: Minimum Contrast, Texture Penalty, Focus-Based Filtering, Scratch Detection (and its sub-controls)
Detection Resolution and the current view mode follow your session, not the profile.
Updating a Profile
To revise a profile: load it, make changes, click Save Profile, and re-use the same name when prompted to overwrite.
Naming Conventions
Pick something you’ll still understand in a year. Two patterns work well:
- By stock: Portra 400 — lab, Portra 400 — home.
- By project: Wedding 2024 negs, Family archive 1970s slides.
Put any qualifier (lab, home, archive) at the end, not the start — it makes the list easier to scan.
Recommended Starter Set
Most users settle on three or four profiles:
- Modern colour negs (lab) — Negatives + Conservative defaults.
- Older slides — Slides + Sensitivity nudged right; Texture Penalty raised slightly.
- Sharp DSLR scans — Conservative; Focus-Based Filtering off.
- Heavy scratches — Conservative + Scratch Detection on.
Next Steps
- What every saved control actually does — 2.3: All Settings Explained.
- Working at scale — 4.3: High-Volume Processing Tips.