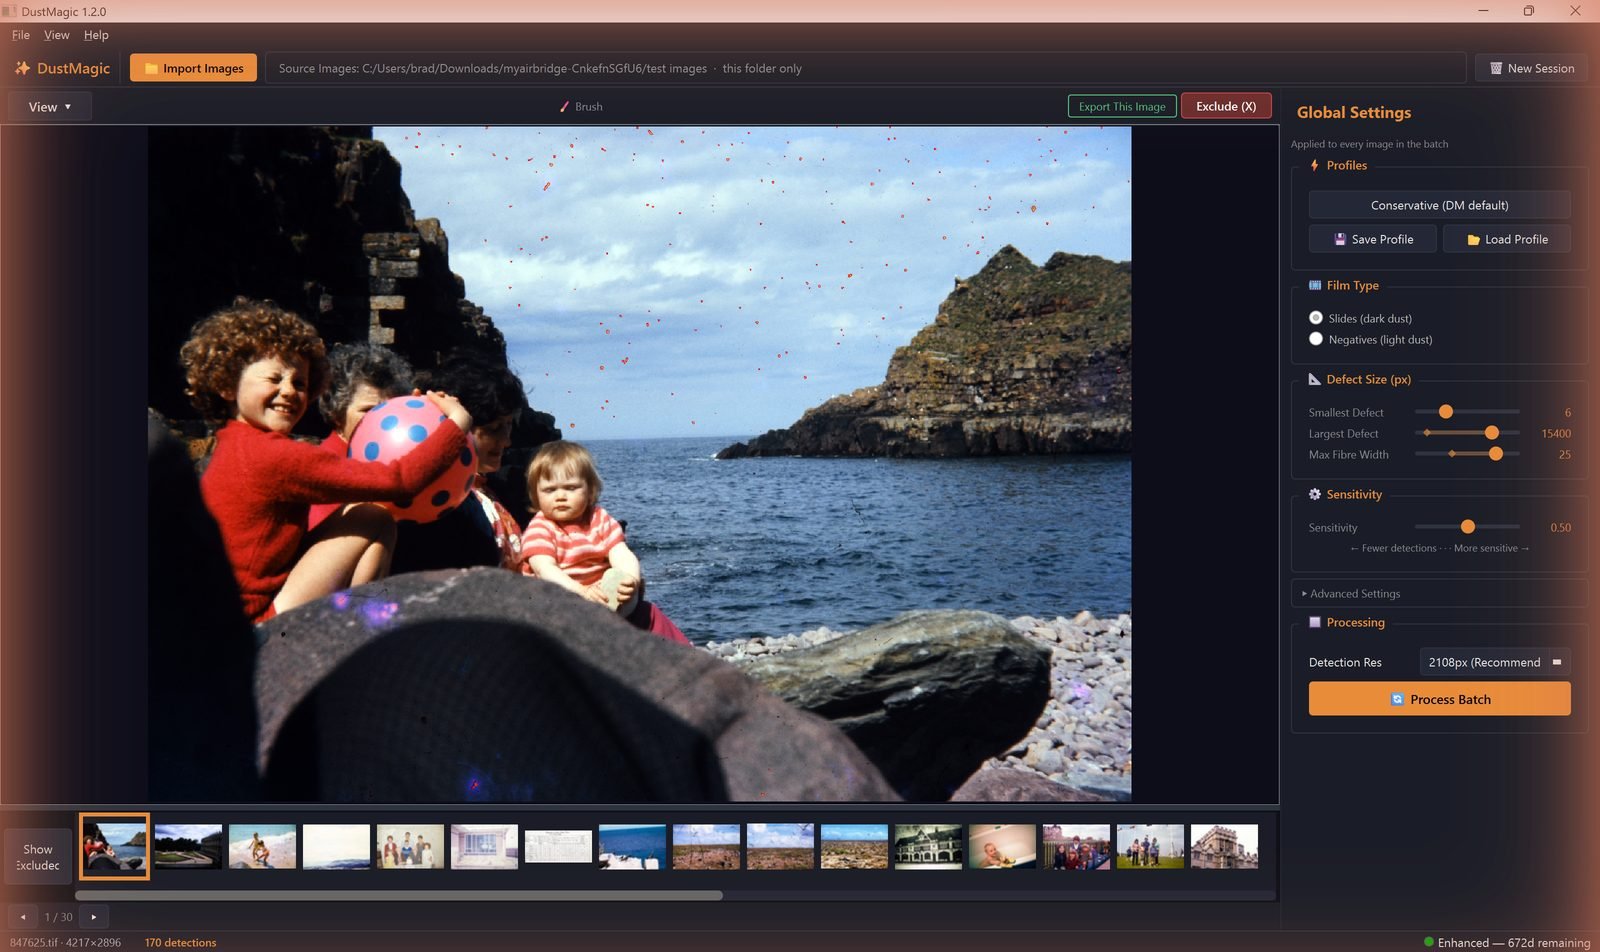
Every control DustMagic exposes lives in the Global Settings panel on the right — settings there apply to every image in the batch — with a few buttons in the toolbar. If you only learn three: Film Type, Sensitivity, and the Conservative profile.
Profiles
- Conservative (DM default) — the built-in starting point, applied automatically. Catches most real dust, low false positives.
- Save Profile / Load Profile — store and recall named presets (e.g. “Kodachrome slides”), from the panel or the File menu.
Film Type
The single most important setting. Tells the detector which way around your image is.
- Slides (dark dust) — positives. Dust appears dark.
- Negatives (light dust) — inverted scans. Dust appears bright after inversion.
Setting this wrong is the most common cause of bad results.
Defect Size
All three are in pixels, and the defaults adapt to the resolution of the loaded image — expect larger numbers on higher-resolution scans.
- Smallest Defect — minimum size in pixels. Raise to ignore grain and noise.
- Largest Defect — maximum size. Lower if image features are being flagged; raise for stains or large blotches.
- Max Fibre Width — widest a mark can be before it’s treated as a dust spot rather than a fibre or hair.
Sensitivity
The master detection control.
- Move left for fewer detections (fixes false positives).
- Move right for more detections (catches missed dust).
Advanced Settings
Click ▶ Advanced Settings to expand.

- Minimum Contrast — how strong the dust signal must be against its surroundings. Raise to suppress false positives on smooth skies; lower to catch faint contamination.
- Texture Penalty — suppresses detection in detailed areas (foliage, fabric, hair). Raise if textures are flagged as dust; lower if dust over detail is being missed.
- Focus-Based Filtering — uses the sharper edges of dust vs. grain to separate them. Disable for very sharp macro-DSLR scans where the gap narrows and real dust gets suppressed.
- Scratch Detection — finds thin linear marks the standard detector misses. Sub-controls: Sensitivity, Min Length (raise to ignore short fibres), Max Width (above which marks are treated as dust spots).
Processing
- Detection Res — the resolution the detector runs at, shown in pixels with a recommended value for the loaded image. Pick a lower value for faster tuning. Output is always saved at full resolution.
- Process Batch — cleans every image in the folder using current settings. A confirmation shows the image count and output folder first, progress reports dust spots removed with an ETA, and Stop Batch halts a run. Output goes to a
cleanedsubfolder; review what was detected in-app via the Mask Only and Split views. Originals are never modified. In trial mode all output is watermarked; a licence removes the watermark.
Sweet Spot Recipes
- Modern colour negatives, lab-processed — Negatives + Conservative.
- Slides, well-stored — Slides + Conservative. Nudge Sensitivity right one notch if dust is missed.
- Older or dustier scans — nudge Sensitivity right. Raise Texture Penalty if faces show false positives.
- Sharp macro-DSLR scans — Conservative; disable Focus-Based Filtering if dust is missed.
- Visible scratches on skin or sky — enable Scratch Detection; raise Min Length if short fibres are flagged.
Next Steps
- See settings in action across the five view modes — 2.2: Before & After Visualization.
- Save a tuned setup as a profile — 2.1: Dust Magic Profiles Explained.
- Working a folder with exceptions — 4.1: Cleaning Scanned Film Photos.