A profile is a saved snapshot of every detection setting. DustMagic ships with a built-in default, plus tools to save and recall your own.
The Built-In Profile
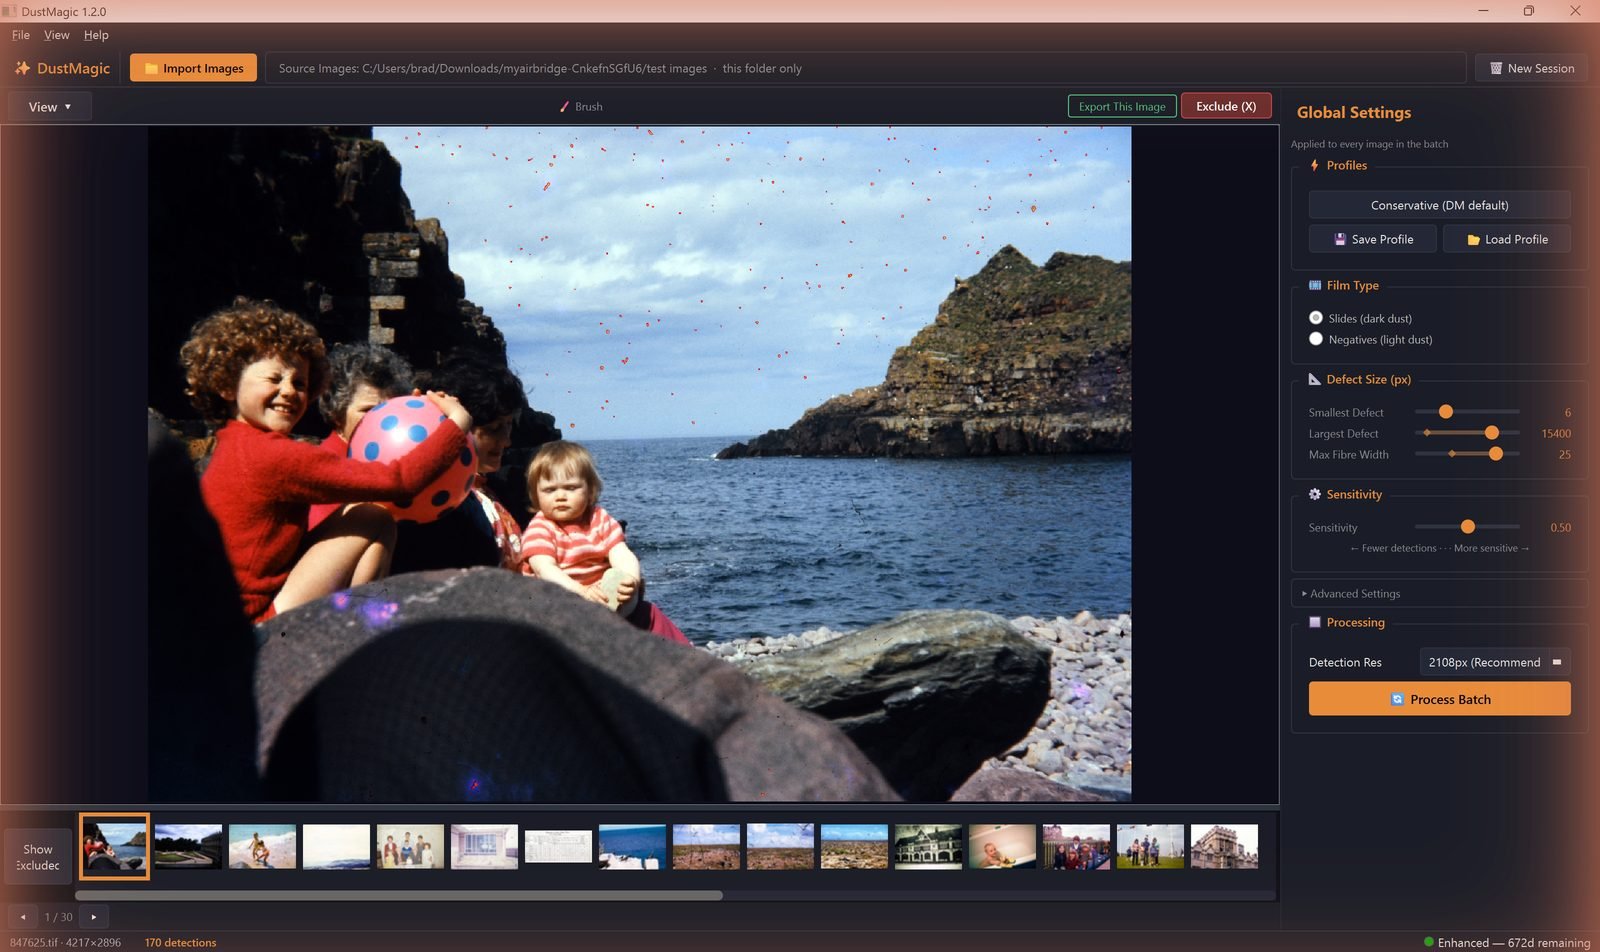
- Conservative (DM default) — the recommended starting point. Catches most real dust with low false positives, and is applied automatically when you start a session.
Saving a Custom Profile
- Tune the panel until you’re happy with detection on a representative image.
- Click Save Profile (also in File → Save Profile).
- Give it a descriptive name — e.g. “Kodachrome slides”, “Tri-X push processed”, “Wedding negatives 2024”.
Loading a Profile
- Click Load Profile (also in File → Load Profile) and pick your saved profile.
- The loaded profile populates every slider and toggle. Detection re-runs automatically on the current image.
What a Profile Stores
- Film Type
- Smallest Defect, Largest Defect, Max Fibre Width
- Sensitivity
- All Advanced Settings (Minimum Contrast, Texture Penalty, Focus-Based Filtering, Scratch Detection and its sub-controls)
Detection Resolution and the current view mode are not stored — those follow your session, not the profile.
Recommended Profile Library
Most users end up with three or four profiles that cover their work:
- Modern colour negs (lab) — Negatives + Conservative defaults.
- Older slides — Slides + Sensitivity nudged right; Texture Penalty raised slightly.
- Sharp DSLR scans — Conservative; Focus-Based Filtering off.
- Heavy scratches — Conservative + Scratch Detection on.
Next Steps
- Manage and rename your profiles — 4.4: Saving & Loading Custom Profiles.
- Understand every control a profile saves — 2.3: All Settings Explained.