This is the fastest path from a folder of scans to a folder of cleaned files.
1. Import Your Scans
- Click 📁 Import Images (or press Ctrl+I) and select your scans — DustMagic loads the folder’s JPEG and TIFF files (8-bit and 16-bit TIFF) into the filmstrip at the bottom.
- The toolbar shows the source folder path; re-open recent folders from File → Recent Folders.
- Detection runs automatically on the first image using the Conservative profile.
2. Set Film Type
In the Global Settings panel on the right, choose:
- Slides (dark dust) — for positives.
- Negatives (light dust) — for inverted scans where dust appears bright.
This is the most important setting. Get it wrong and detection will be useless.
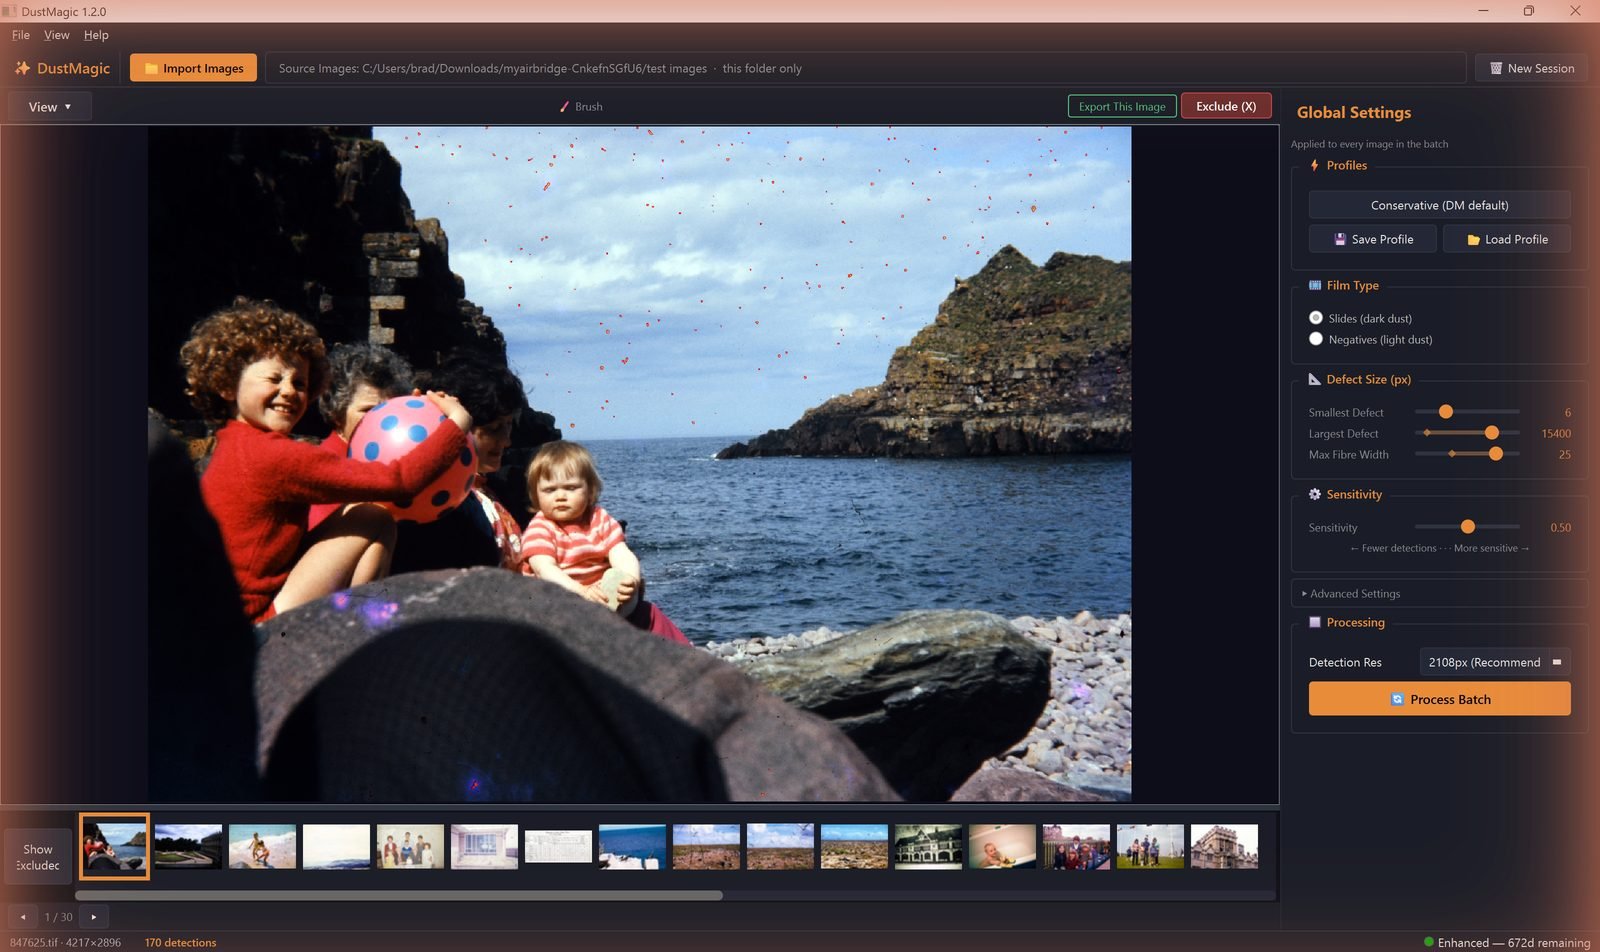
3. Review the First Image
- Press 2 for Detection Overlay (red shows what will be removed).
- Press 4 for Inpainted to preview the cleaned result.
- Press 5 for Split View — sweep the divider with your mouse.
- If the result looks right, you’re ready to process the batch. If not, tune Sensitivity in the panel.
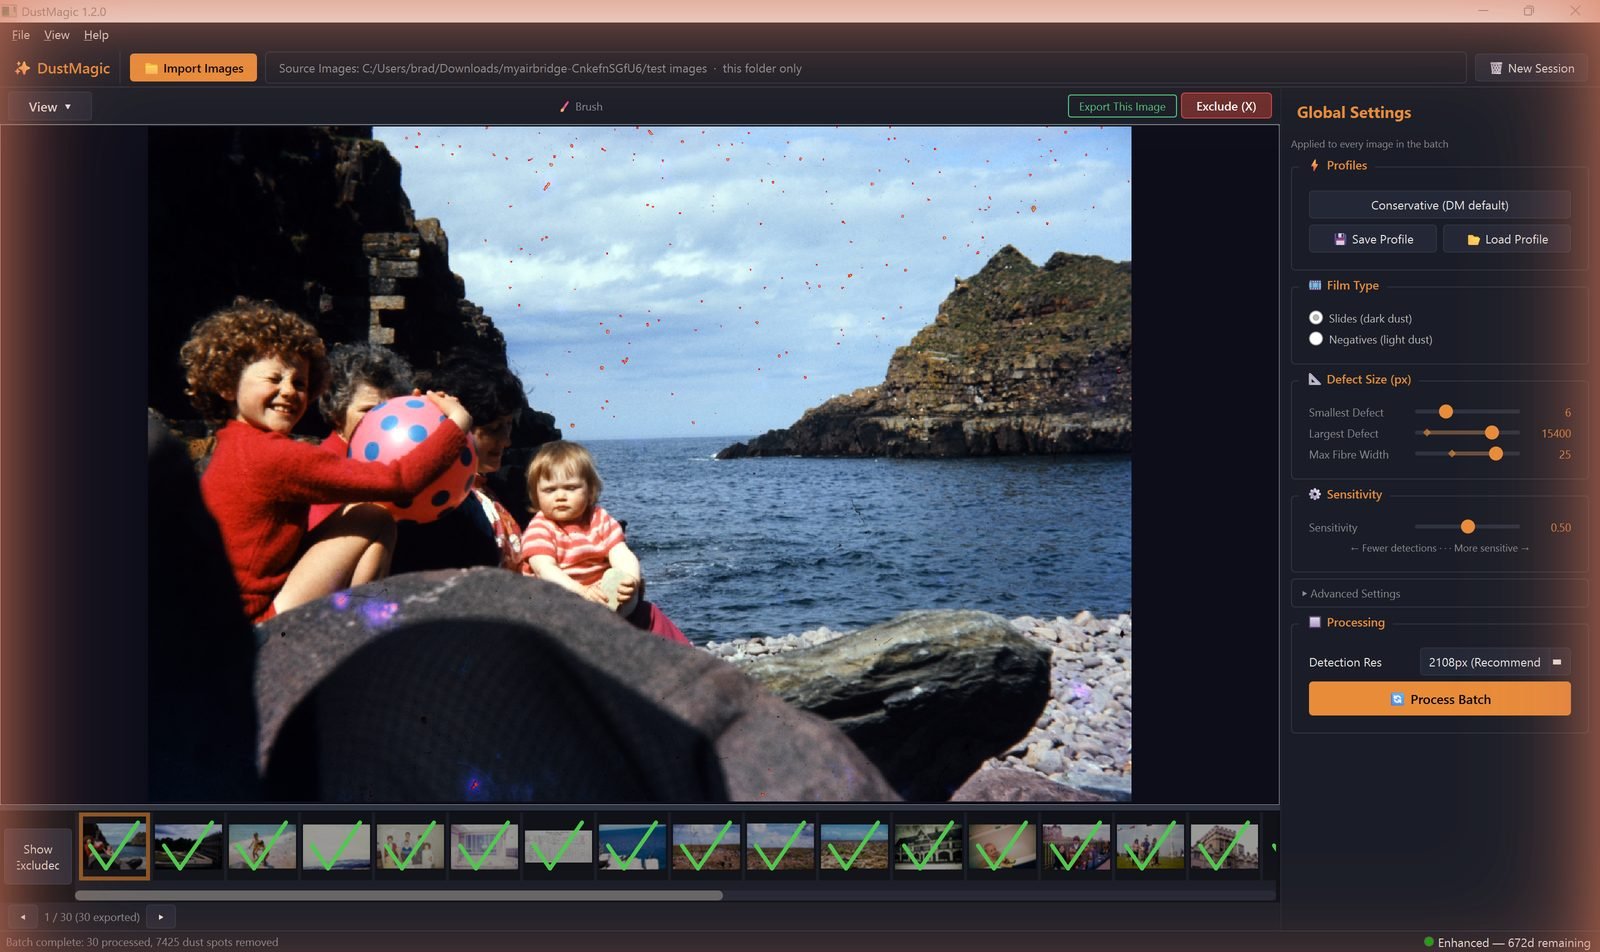
4. Process Batch
- Click the orange Process Batch button at the bottom of the panel.
- A confirmation shows the image count and the output folder before anything runs.
- DustMagic cleans every image in parallel across your CPU cores. The progress bar reports images done, dust spots removed, and time remaining — and you can halt with Stop Batch at any point.
- Each finished image gets a green tick on its filmstrip thumbnail.
5. Find Your Output
- Cleaned files:
cleaned/subfolder inside your source folder. - Detection masks: review in-app via Mask Only (key 3) and Split View.
- Originals are untouched.
- In trial mode, every output image carries a watermark — activating a licence removes it.
If Some Images Need Manual Touch-Up
Arrow through the filmstrip with ← →. For an image that needs fixing, press B for the Smart Brush Tool (the Brush toggle in the toolbar), then click Export This Image to save it individually before running Process Batch on the rest. Full walkthrough in 4.1: Cleaning Scanned Film Photos.
Next Steps
- Tune detection — 2.3: All Settings Explained.
- Save your tuned settings — 2.1: Dust Magic Profiles Explained.
- Manual touch-ups — 4.1: Cleaning Scanned Film Photos.